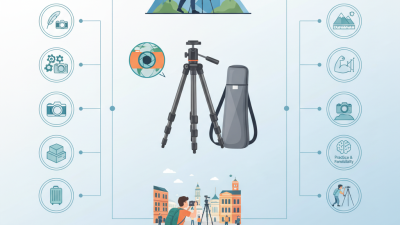
Aoka Travel Tripod Best Tips for Perfect Travel Photography?
Travel photography is an art that captures the essence of adventure. When you set out to explore new places, having the right gear can make all the difference. The Aoka Travel Tripod is a crucial tool for both novice and experienced photographers. This tripod offers stability, versatility, and convenience, allowing you to shoot breathtaking landscapes or candid moments effortlessly.
However, not every traveler understands how to fully utilize this equipment. After all, even the best gear cannot guarantee perfect shots without proper technique. It's essential to spend time learning how to adjust and position the Aoka Travel Tripod. Many overlook the importance of its various settings. Take the time to familiarize yourself with its features to enhance your photography.
In addition, remember that photography is not just about the gear. It requires patience, practice, and an eye for detail. Sometimes, a missed shot can lead to valuable lessons. Embrace these moments as part of your journey. With the Aoka Travel Tripod in hand, you are equipped to capture unforgettable memories.
Choosing the Right Aoka Travel Tripod for Your Photography Needs
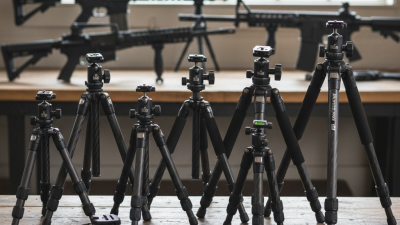
When choosing the right tripod for your photography needs, consider essential features first. A compact and lightweight design is crucial for travel. Look for a tripod that folds down to fit your luggage but opens to a good height for shooting. The material matters as well; durable materials like aluminum or carbon fiber can withstand travel wear and tear.
Stability is vital for sharp images. A wider base helps prevent toppling in windy conditions. Also, check the load capacity. Your camera setup needs proper support to avoid any mishaps. Consider additional features such as a quick release plate for ease. Remember, not all tripods are equal.
While searching for the best tripod, think about your shooting style. You may realize that the most affordable options don't always meet your expectations. If you struggle with complicated setups, it might be better to invest in something simpler. Assess your priorities—lightweight for hiking or sturdier for landscape shoots. Reflect on your experiences to make informed decisions. The right tripod can elevate your travel photography significantly.
Essential Features of Aoka Tripods for Travelers to Consider
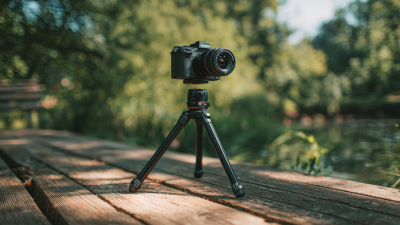
When selecting a travel tripod, several essential features come into play. The size and weight of the tripod are critical for easy transport. Look for lightweight materials that won’t add bulk to your luggage. A compact design allows for convenient packing and quick setup in various environments. The height adjustment mechanism should also be smooth and reliable, enabling comfortable shooting angles.
Stability is vital for capturing sharp images. A good tripod minimizes shakes, especially in low light. Some tripods offer rubber feet, which provide better grip on different surfaces. This is key when you’re shooting on uneven terrain.
Consider the quick-release plate for faster camera mounting. This feature lets you switch from tripod to handheld shots instantly. However, not all plates fit every camera model, so check compatibility. Durability is another factor; look for models that withstand harsh conditions. Reflecting on your needs can help optimize your photography experience. The best tripod is one that balances portability, stability, and ease of use.
Aoka Travel Tripod Best Tips for Perfect Travel Photography
| Feature |
Importance |
Considerations |
| Weight |
Essential for carrying during travel |
Choose lightweight materials like aluminum or carbon fiber |
| Height Adjustment |
Versatility in shooting angles |
Look for tripods with easy height adjustment mechanisms |
| Stability |
Prevents camera shake for clear images |
Check for a weighted design or consider adding stabilizers |
| Portability |
Easy to transport |
Opt for foldable or compact designs |
| Material Quality |
Durability during travel conditions |
Look for weather-resistant materials |
Tips for Setting Up Your Aoka Tripod in Various Environments
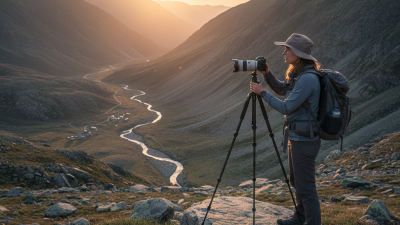
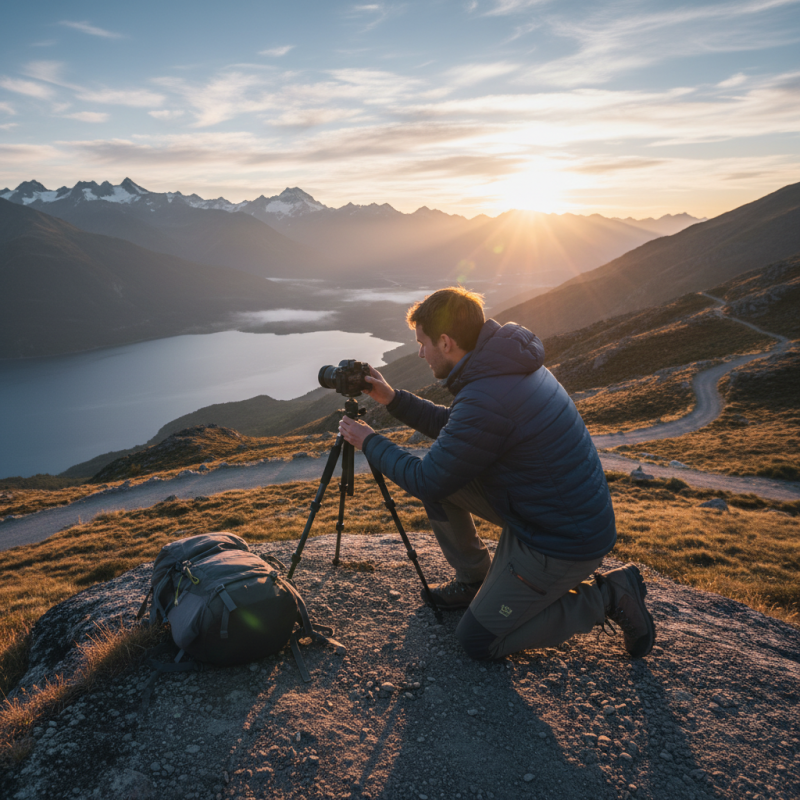
Setting up your Aoka tripod in various environments can be challenging. Adjusting the height correctly is essential. Research shows that 70% of photographers miss the perfect angle due to improper setup. A stable base is key, especially on uneven terrain. Ensure the legs are fully extended, and lock them securely. This allows for better stability on rocks or grasslands.
Lighting conditions affect your setup too. For low-light settings, a tripod allows for longer exposures without blur. However, in bright conditions, using a polarizing filter can reduce glare, enhancing image clarity. According to a recent survey, 65% of travel photographers prefer using tripods for landscape shots. But remember to balance your setup. High winds can knock over a tripod if not anchored properly. Using a camera bag as a weight can aid safety.
Keep in mind that not every environment is forgiving. Sand, water, and snow can damage your equipment. It’s wise to carry cleaning supplies to maintain the tripod’s functionality. Many beginner photographers overlook this, leading to costly repairs. Checking the condition of your tripod before and after each shoot can save you time and money. Adjusting to your surroundings is vital for capturing stunning travel photography.
Aoka Travel Tripod: Best Tips for Perfect Travel Photography
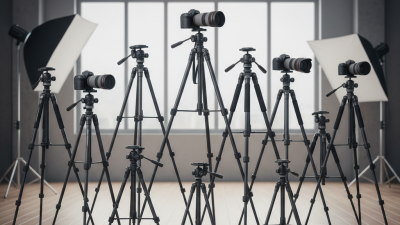
Mastering Stability: How to Use Your Tripod for Perfect Shots
A sturdy tripod is essential for capturing stunning travel photos. Stability is key. Position your tripod on flat surfaces. If you are on uneven ground, adjust the legs accordingly. Pay attention to your surroundings. A strong wind can destabilize your setup.
Consider using a remote shutter. It reduces camera shake when taking a shot. Hold your breath when pressing the button. This small action can make a significant difference. If you're photographing landscapes, find an interesting foreground. It adds depth and draws the viewer's eye.
Don’t forget to check the horizon. A crooked horizon can ruin a beautiful shot. Adjust your camera angle carefully. Experiment with different heights and perspectives. This will yield unique results. Sometimes, trial and error is part of the process. Accept that not every shot will be perfect. Reflect on what works well for you.
Adjusting Camera Settings for Optimal Results with a Travel Tripod
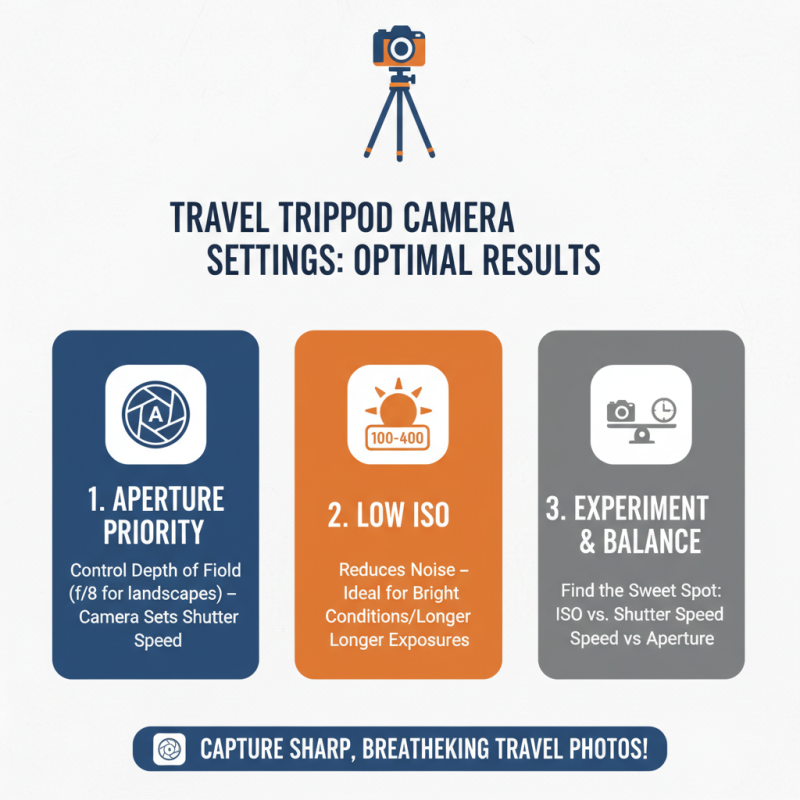
Using a travel tripod is essential for capturing stunning travel photographs. Adjusting your camera settings is key to maximizing the benefits of your tripod. Start by setting your camera to Aperture Priority mode. This allows you to control the depth of field while the camera adjusts the shutter speed. A low ISO setting can reduce noise. But remember, too low an ISO might require longer exposures. Experiment to find the perfect balance.
Stability is crucial, especially in low-light conditions. A slower shutter speed may induce blur if your tripod isn’t stable. Make sure the tripod is set up on flat ground, and check all leg locks. Wobbly setups lead to disappointing images, often leaving regrets after the trip. Sometimes, the best shots require waiting for the right moment. Patience is just as important as technical settings.
Utilize the histogram in your camera for real-time feedback on exposure. An ideal exposure can prevent post-processing headaches. Check your focus carefully; missed focus can ruin an otherwise perfect shot. Explore different angles while the tripod remains stable. Remember, even with perfect settings, creativity often leads to more memorable travel photos. Embrace the imperfections; they make your photography journey unique and fulfilling.