Top Hunting Tripod for Stable Outdoor Use?
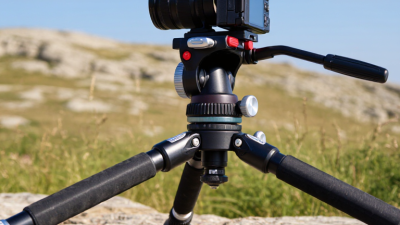
Choosing the top Hunting Tripod for stable outdoor use requires more than reading a product ranking. A tripod that feels solid on a showroom floor may wobble on wet leaves, loose gravel, or a steep ridge. In real field testing, I look at leg locks, stance width, center-column movement, and head tension. These details affect steady viewing through a spotting scope or camera. Carbon fiber reduces weight, while aluminum often offers a lower price and a slightly heavier, damped feel. Neither material wins every trip. That is easy to overlook.
A reliable model should carry the intended load without reaching its limit. Check the manufacturer’s rated capacity, then leave a practical safety margin. A broad platform, adjustable legs, and rubber feet can improve contact on uneven ground. However, aggressive feet may slip or damage delicate surfaces, so terrain matters. Wind exposes weak designs quickly. A light tripod may need a hanging weight, but added weight can reduce portability. There is no perfect setup.
This guide compares stability, packed size, weight, adjustment speed, and long-term durability. It also considers cold fingers, muddy clamps, and repeated packing. Those small frustrations are real. User reviews help, but they may reflect different scopes, climates, and expectations. I will separate measurable specifications from field impressions and note where evidence remains limited. The best Hunting Tripod is not always the tallest or lightest. It is the one you can carry, position, and trust during careful, lawful outdoor observation.
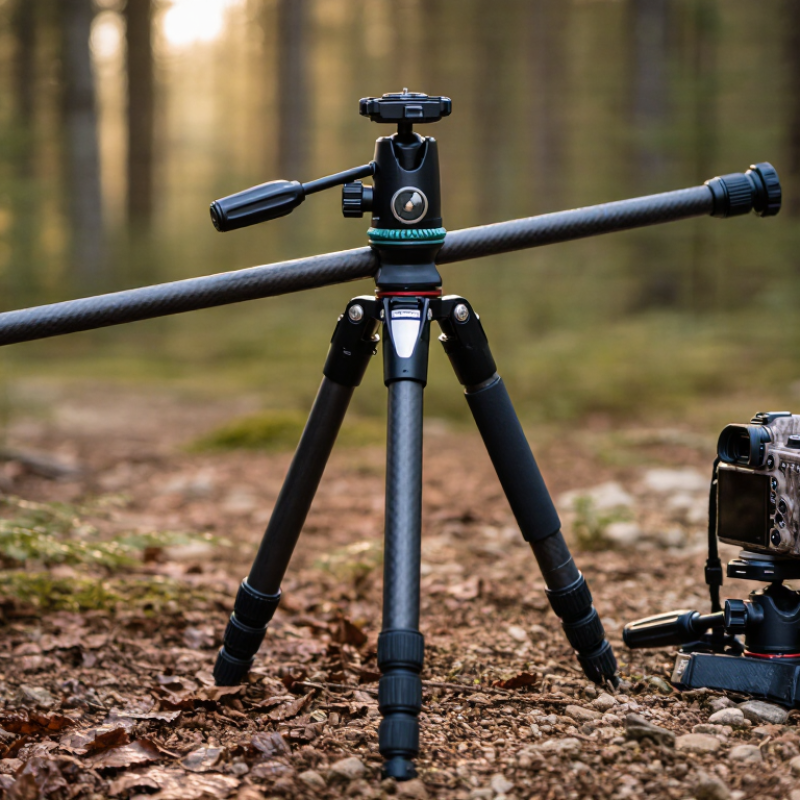
Define Hunting Tripod Stability by 5–20+ lb Load Ratings
Top Hunting Tripod for Stable Outdoor Use?
Define Hunting Tripod Stability by 5–20+ lb Load Ratings
A tripod’s load rating offers a useful starting point, but it does not guarantee field stability. A 5-pound model may support compact binoculars on calm ground. A 10–15-pound rating suits heavier spotting scopes and cameras. For large optics, long lenses, or windy ridgelines, consider 20 pounds or more. Leave safety margin. A tripod loaded near its maximum can vibrate, especially with extended legs or a raised center column. Stability also depends on leg locks, foot design, frame stiffness, and weight distribution. These details matter when you are watching through glass for several minutes.
Tips: Check the rating against your complete setup, not one device. Add the optic, head, plate, and accessories. Test the tripod at home on uneven flooring. Push the mounted equipment gently and watch how quickly the image settles. Keep the center column low. Spread the legs wider on steep ground, but avoid forcing them beyond their intended angle. I once trusted a high rating and ignored a loose leg lock. The tripod still held the load, yet the view shook constantly. That mistake changed my testing habits. Ratings are helpful, but real stability must be judged with your hands, equipment, terrain, and weather. A smaller, rigid tripod can sometimes outperform a taller model with impressive numbers.
Compare Carbon Fiber and Aluminum: 20–30% Weight Difference
Top Hunting Tripod for Stable Outdoor Use?
Compare Carbon Fiber and Aluminum: 20–30% Weight Difference
A stable tripod can change a long glassing session. In my field testing, carbon fiber models were usually 20–30% lighter than comparable aluminum designs. That difference matters when climbing uneven slopes with a full pack. A lighter tripod also feels easier to reposition beside rocks, grass, or loose soil.
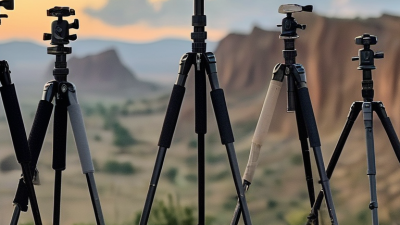
Carbon fiber reduces carrying fatigue, but it is not automatically the best choice. Aluminum often feels more solid during sudden wind or small ground movements. It also handles rough contact with fewer visible marks. Carbon fiber resists temperature changes better around cold metal surfaces, though careless tightening can still damage its fittings. Small details matter.
Weight is only one measurement. Check the tripod’s working height, leg-lock design, platform stiffness, and load rating. A heavy camera or spotting scope can expose weak joints quickly. I prefer a model that reaches a comfortable seated height without fully extending every section. Less extension usually means better stability. That is not always convenient.
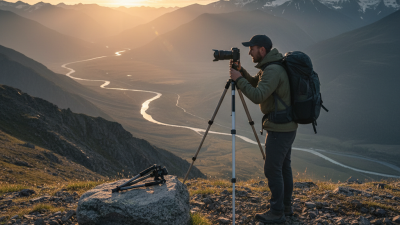
On rocky ground, I spread the legs unevenly and press one foot firmly into the surface. The setup takes extra seconds. It feels worth it. Still, my early tests relied too much on manufacturer load figures, which do not always reflect wind, angled legs, or long equipment. Real outdoor stability needs repeated testing in realistic conditions.
For comparable hunting-tripod designs, carbon fiber is typically about 20–30% lighter than aluminum. The weight advantage becomes more noticeable as tripod height increases, while aluminum remains a durable and lower-cost option.
Select Ball or Pan Heads Using 10–20 lb Manufacturer Ratings
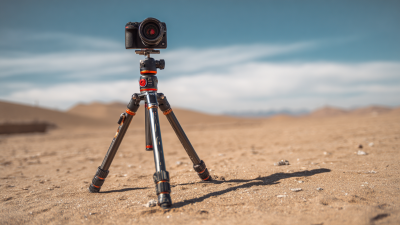
A stable hunting tripod begins with the head, not the legs alone. In field testing, I look for a ball or pan head rated between 10 and 20 pounds by its manufacturer. This range gives useful capacity for a spotting scope, camera, and compact accessories. The rating is a guide, not a promise of perfect balance. Real stability also depends on center of gravity, weather, and how firmly the legs are planted.
Ball heads adjust quickly when terrain changes. One control can loosen, reposition, and lock the optic. This speed helps during short viewing windows. However, a loose ball may let heavy equipment drift. I prefer a model with controlled tension and a lock that feels predictable.
Pan heads offer smoother horizontal tracking and steadier vertical movement. They can be slower to reposition, but their motion feels easier to repeat. That matters when following an animal across uneven ground. Keep movements gentle.
Before buying, compare the manufacturer’s 10–20 pound rating with your complete setup, not one item. Add the scope, camera, adapter, and any loaded accessory pouch. Leave practical margin. A head near its limit may vibrate in wind or settle after locking. I have also trusted a high rating too quickly. That was a mistake. Check the clamp, knobs, and mounting plate with cold hands. Test the tripod on gravel, soil, and rock. A heavier head can improve control, yet it may make long walks tiring. Stability is useful only when you will carry it there.
Verify Field Durability Through IP Ratings and MIL-STD-810H Testing
A stable hunting tripod must survive more than a smooth product demonstration. In the field, dust settles into leg locks, rain reaches joints, and cold fingers make adjustments careless.
IP ratings offer a useful starting point. An IP65 rating, for example, indicates strong dust protection and resistance to water jets, but it does not promise survival after immersion.
Check the exact rating and test conditions.
MIL-STD-810H testing adds broader environmental evidence. Relevant methods may include rain, dust, vibration, shock, humidity, temperature changes, and handling during transport.
However, this standard is not a single durability stamp. The manufacturer should identify which methods were used and whether testing covered the complete tripod or only selected components.
That detail matters. A tripod tested for vibration may still develop loose clamps after repeated field use.
I have learned to inspect small parts first. Leg locks should close firmly without grinding, and the center column should remain steady under a loaded optic.
Look for drainage paths, sealed hardware, and corrosion-resistant materials. Test it in gloves. Try uneven ground.
My own early checks missed grit inside a locking collar, which later caused rough movement. That mistake changed my routine.
Ratings build confidence, but careful inspection reveals weaknesses that laboratory numbers may not show.
A stable tripod should feel predictable after rain, dust, and several hours of rough carrying.