Leave Your Message

Top 10 Carbon Fiber Tripods for Every Budget

A camera can be expensive; a shaky frame can still spoil the shot. A Carbon Fiber Tripod offers a useful balance of low carry weight and firm support, especially when you hike, travel, or work outdoors. The choice is less simple than the material label suggests. Leg locks, center columns, feet, and tripod heads all affect stability and ease of use.

CIPA’s 2024 camera-shipment statistics recorded about 8.49 million digital cameras shipped worldwide, up roughly 10% from 2023. That industry figure signals continuing interest in photography, but it does not measure tripod sales. It is useful context, not proof that every photographer needs new support gear. Tripod buyers still need to match equipment to their own cameras, lenses, and shooting habits.

This guide compares ten carbon-fiber models across different budgets, from compact travel options to heavier supports for demanding setups. We consider payload ratings, folded length, working height, adjustment features, and included heads. Check the maker’s specifications before mounting expensive equipment; published capacity figures do not always describe performance in wind or on uneven ground. A lighter tripod is not automatically the better one. Nor is the most expensive. Small details matter. A loose twist lock, a narrow stance, or a center column raised too high can undermine stability. Specifications help, but they cannot capture every field condition. That limitation deserves a little honesty.
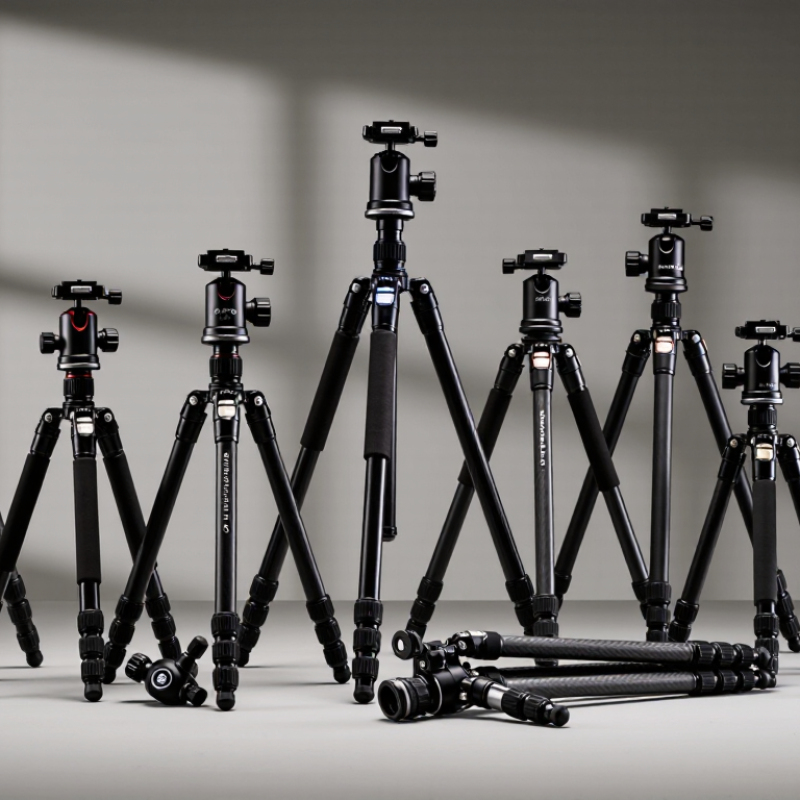
Top 10 Carbon Fiber Tripods for Every Budget

Carbon-Fiber Tripod Basics: Composite Density Is About 1.6 g/cm³

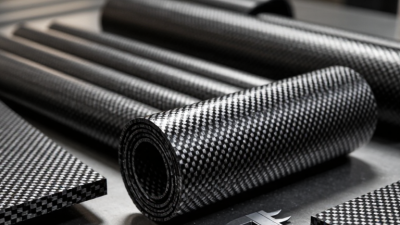
Carbon-fiber composite density near 1.6 g/cm³ is a useful estimate, not a fixed specification. CMH-17, the Composite Materials Handbook, explains that laminate properties depend on fiber, resin, and construction. Industry fiber data sheets commonly list carbon-fiber density around 1.8 g/cm³. A cured composite’s density changes with its resin content, fiber fraction, and layup. That distinction matters. The ASM Handbook places many aluminum alloys near 2.7 g/cm³ and steel near 7.8 g/cm³, but equal-volume comparisons do not predict finished tripod weight.

For tripod tubes, wall thickness and diameter matter as much as density. A wider, thin-walled tube may resist bending while staying light; joints, locks, and a center column add weight. Feel the difference by extending the legs and checking whether they twist under gentle pressure. Do not judge by material alone. A low-density tube can still feel flexible, and a heavier head can erase some savings. I would treat 1.6 g/cm³ as a helpful starting point, not a buying rule; manufacturers rarely disclose every layup detail. When comparing tripods, check total packed weight, leg stiffness, and load rating together.
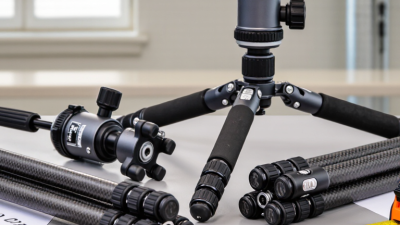
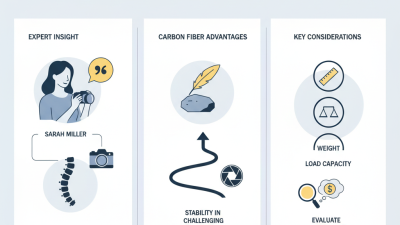
Compare Tripod Specs: Payload, Weight, Height, and Folded Length

A useful tripod comparison begins with the complete camera setup, not the camera body alone. Add the lens, plate, and accessories before judging payload capacity. A published payload figure is a limit, not a universal stability test. Long lenses can magnify small vibrations, even when the setup sits below that rating. CIPA’s 2024 digital-camera shipment statistics report 8,496,287 units shipped worldwide. That figure shows the scale of camera use, but it cannot identify the right tripod for any particular kit.

For travel, compare total weight with folded length: a light tripod is less useful if it will not fit your bag. I still find folded length easy to underestimate. Check maximum height with the center column lowered, since extending it can make a tripod less steady. Minimum height matters too, especially for low-angle landscapes or tabletop work. For a heavy camera and lens, leave headroom above the stated payload rather than shopping at the exact limit. Compare measurements taken in the same way; manufacturers may define payload or maximum height differently. Specs narrow the field. They do not replace checking leg locks, column movement, and stability on the ground where you plan to shoot.

Check Camera Compatibility: 1/4-20 and 3/8-16 Mounting Threads

Before comparing carbon fiber tripods, check the camera’s mounting socket and the tripod head’s connection. Many cameras use a 1/4-20 thread: a quarter-inch screw with 20 threads per inch. Larger cameras and support equipment may use a 3/8-16 thread. The numbers matter. A screw that looks close may still fail to seat securely.

Tripod heads commonly connect to legs through a 3/8-16 stud, while quick-release plates often attach to cameras with a 1/4-20 screw. Some setups need a bushing or adapter between these sizes. Check the product specifications, and inspect the screw length before tightening; a screw that is too long can press against parts inside the camera socket. Hand-tighten the plate, then gently test for movement.

Compatibility is easy to overlook when a tripod feels sturdy in the shop. It can become frustrating on a windy overlook, with a camera shifting slightly during a long exposure. Not ideal. Thread size alone also does not confirm that a tripod can safely support your full setup. Include the lens, head, and accessories when checking the load rating, and follow the equipment makers’ guidance. If details are unclear, pause and verify them rather than forcing a mismatched connection. A small adapter may solve the fit, but it adds another joint to inspect.

Top 10 Carbon Fiber Tripods for Every Budget — Check Camera Compatibility: 1/4-20 and 3/8-16 Mounting Threads

A category-based buying guide, not a list of specific products. Features and load limits vary by model; check the manufacturer’s specifications before buying. A 1/4-20 screw commonly connects a camera to a quick-release plate, while a 3/8-16 connection is commonly used between tripod legs and a separate head.

# Budget / Use Profile Carbon Fiber Tripod Type Camera and Head Setup Thread Compatibility Check Best Fit
1 Entry budget Basic 3-section legs with a fixed or included head Small camera or lightweight mirrorless setup Confirm the plate screw is 1/4-20; check that the included head is securely attached to the legs. Occasional photography and general home use
2 Value travel Compact folding legs with a ball head Mirrorless camera with a small or standard zoom lens Check the camera-facing plate screw for 1/4-20 and verify the head’s stated load capacity. Travel photography where packed size matters
3 Lightweight hiking Lightweight legs, often with fewer sections Compact camera or lightweight mirrorless kit A 1/4-20 camera connection is common; confirm the plate matches the camera’s socket. Hiking and day trips where carry weight is important
4 Mid-range general purpose Versatile legs with a removable ball head Mirrorless or DSLR camera with a moderate lens Check for a 3/8-16 leg-to-head connection if you plan to change the head; check the plate for 1/4-20. A single tripod for travel, landscapes, and everyday use
5 Mid-range landscape Sturdier legs with an independent center-column design Camera with a standard or wide-angle lens Verify the head mounting thread and the camera plate screw separately; they serve different connections. Long exposures and landscape compositions
6 Upper mid-range video Legs paired with a compatible fluid or video head Camera or camcorder configured for video work Many separate heads use a 3/8-16 mounting connection; confirm the leg platform and head match. Panning and controlled video movements
7 Macro and close-up work Legs with adjustable or reversible center-column positioning Camera with a macro lens or close-up accessories Check that the head and any mounting adapter fit the tripod’s stated platform thread. Low-angle framing and close focusing
8 Premium travel Compact, multi-section legs with a removable head Mirrorless camera or compact DSLR kit Confirm the head uses the legs’ mounting thread; a removable head may use 3/8-16 or another specified interface. Frequent travel with a preference for compact packing
9 Heavy-duty photography Stiff, larger-diameter legs with a separate head DSLR or mirrorless camera with a heavier lens Check the combined camera-and-lens weight against both the head and leg ratings; confirm the 3/8-16 connection if applicable. Studio, landscape, and other setups needing a larger support system
10 Professional modular setup Modular legs configured with a separately selected head Camera system with a specialized head or accessories Match the leg platform, head, quick-release plate, and camera socket. Use a correctly sized adapter only when needed. Photographers who want to customize or upgrade components

Thread reminder: 1/4-20 and 3/8-16 refer to different screw diameters and thread counts; they are not directly interchangeable. Check the camera, plate, head, and tripod specifications before purchase.

Choose a Budget Tier by Camera Load, Travel Needs, and Stability

Choose a tripod by the camera you actually carry, not the heaviest setup you might use someday. A compact body and small lens can work well on a lighter, less expensive model. Add a long telephoto lens, microphone, or monitor, and thin leg sections may flex or feel awkward. Check the stated load capacity, but treat it as a ceiling, not a promise of steady framing. A little margin helps.

For travel, compare folded length and packed weight with your real bag. A tripod that fits beside a water bottle is more likely to come along. Budget options often save weight through slimmer legs or simpler locks; these can take longer to set up. That trade-off gets old in cold weather. Carbon fiber can reduce carried weight and help damp vibration, but it cannot cancel gusts or a loose head.

Mid-priced models often make sense for frequent travel with a modest camera kit. Spend more when heavier gear, repeated outdoor use, or precise long exposures demand thicker legs and a stronger head. On soft ground, spread the legs carefully and keep the center column low. Even a sturdy tripod can wobble if it is extended carelessly. I would check each lock with the camera mounted; published numbers rarely show how a tripod feels in your hands.

Top 10 Carbon Fiber Tripods for Every Budget

Choose a budget tier by camera load, travel needs, and stability.

These are illustrative planning estimates, not specifications for particular tripods. Rig weights represent example camera setups; the recommended payload is calculated at twice the rig weight to allow a stability margin. Check a tripod’s rated payload and packed size before purchasing.

Compare 10 Carbon-Fiber Tripods by Payload, Weight, and Price

A useful comparison of ten carbon-fiber tripods starts with the camera load, not the advertised maximum. A body, long lens, plate, and accessories can quickly weigh more than expected. Check each tripod’s payload rating, but treat it as a ceiling rather than a promise of steady framing. Ratings are not always measured in the same way.

At the lightest end, compact travel models may weigh around 1–1.3 kg and suit smaller camera kits. They are easy to carry, but narrow legs can wobble in gusts. Mid-range options often weigh roughly 1.4–2 kg, with sturdier leg sections and greater working capacity. These can be a sensible balance for general photography. Heavier models, often above 2 kg, may support larger rigs more confidently, though they become tiring on a long hike. Prices vary widely, from budget-friendly choices near $100 to premium designs costing several hundred dollars or more. Price alone proves little.

Compare the ten options using the same setup: folded length, working height, weight, payload, and street price. A tripod rated for 20 kg is not automatically steadier than one rated for 10 kg. Leg diameter, joints, center-column design, and head compatibility matter too. Check what the listed weight includes; some figures exclude the head. Small print matters. A few grams saved may feel valuable on a steep trail, while a heavier base can be welcome beside a windy coastline. The trade-off is real, and no single spec settles it.